
I began by perusing my local Home Depot's paint department. I grabbed a handful of different paint chips (while running into a former student....man am I old!) and ran home before I was tempted to purchase something.
I first tried to glue two chips together, but they had issues. They bubbled in the center, despite being pressed under some heavy tiles. I trimmed the edges with pinking shears and stamped them. Unfortunately, the first two I made didn't turn out well. I hadn't expected the stamps to stick, so that when I tried to lift it from the paint chip it stayed and ended up 'double' stamping the paper. Needless to say, this happened twice. So, I decided I needed to try this again, with a modification.
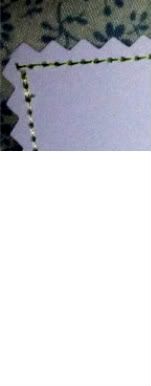 |
| Outside Stitching |
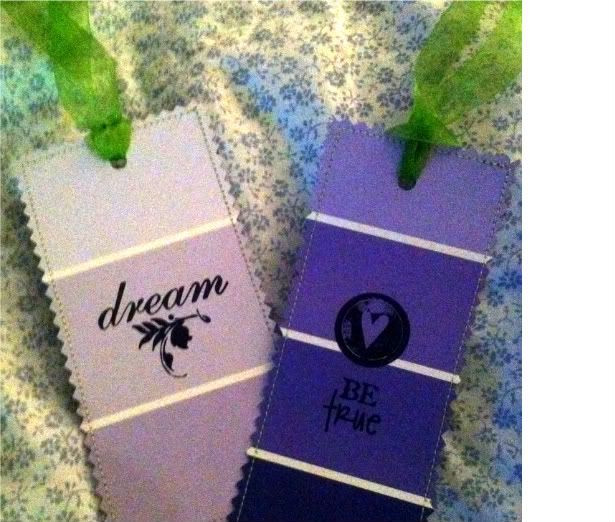
This time, I put two chips together, back sides facing each other and stitched around in a long rectangle. I tried to get as little of the paint colors inside the stitching as possible. Then, I cut around the outside of the stitching using pinking shears.
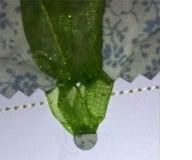 |
| Hole Punch with Ribbon |
Using a hole punch I put a hole near the top (leaving enough room between the hole and the edge so that the ribbon I added wouldn't rip through the paper. I cut a piece of ribbon and stuffed both ends through the hole and slid the cut ends through the center of the uncut side of the ribbon--forming a sort of tail.
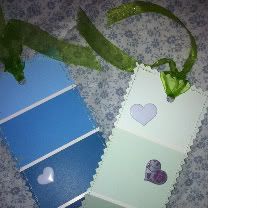 Then, to joosh it up, I used my "Brilliance" ink pades and a nice stamp and inked it up well. I carefully put the stamp to the chip, pushing down firmly, then with one hand I held down the paper and gripping the stamp tightly, lifted it. This time, no "double stamping." On the back, I put some 3-D stickers just so it wouldn't be bare, but also so my daughters could write their names after one of the heart stickers--like a card--so the teacher would always be able to remember from whom this sentiment came.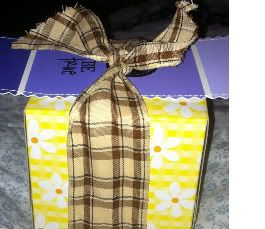
I paired a bookmark with a cheap, but adorable mini box of tissues.
Cost Breakdown: $1.00 per gift
2 Paint Chips.......free from Home Depot (or any hardware store)
Ink Pad...............free, already had this
Stamp.................free, already had this
3-D Stickers.......free, already had this
Thread/Sewing Machine.....free, already had this
Ribbon...............free, recycled from a gift
Mini-Tissues.......$1.00 from Target's dollar section


