Showing posts with label stamping. Show all posts

Friday, May 6, 2011

Keep the Page with a Teacher's Appreciation Gift for Day #3

I racked my brain for yet another useful gift for the girls' teachers.  I know that I enjoy reading and for some reason, I am continually losing my bookmarks.  (Personally, I think my girls keep taking them for their own uses.)  At any rate, I figured a bookmark would be a nice, simple thing I could whip up.

I began by perusing my local Home Depot's paint department.  I grabbed a handful of different paint chips (while running into a former student....man am I old!)  and ran home before I was tempted to purchase something.

I first tried to glue two chips together, but they had issues. They bubbled in the center, despite being pressed under some heavy tiles.  I trimmed the edges with pinking shears and stamped them.  Unfortunately, the first two I made didn't turn out well.  I hadn't expected the stamps to stick, so that when I tried to lift it from the paint chip it stayed and ended up 'double' stamping the paper.  Needless to say, this happened twice.  So, I decided I needed to try this again, with a modification.
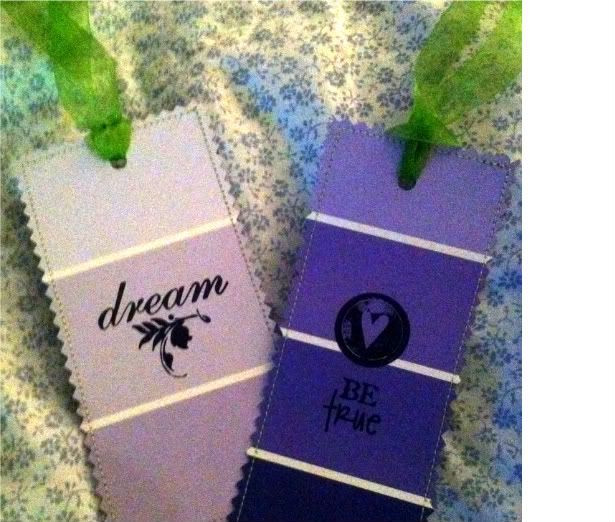

 
Outside Stitching

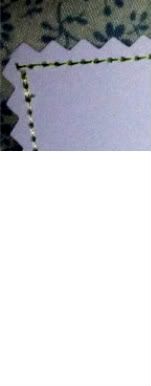
This time, I put two chips together, back sides facing each other and stitched around in a long rectangle.  I tried to get as little of the paint colors inside the stitching as possible.  Then, I cut around the outside of the stitching using pinking shears. 

Hole Punch with Ribbon

 Using a hole punch I put a hole near the top (leaving enough room between the hole and the edge so that the ribbon I added wouldn't rip through the paper.  I cut  a piece of ribbon and stuffed both ends through the hole and slid the cut ends through the center of the uncut side of the ribbon--forming a sort of tail.
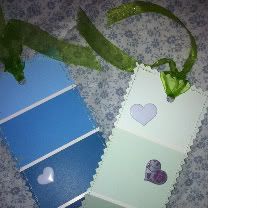
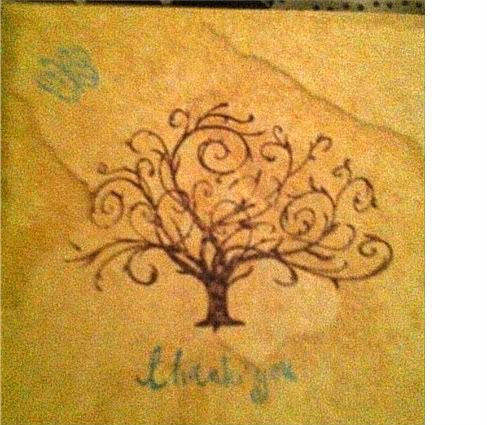
Then, to joosh it up, I used my "Brilliance" ink pades and a nice stamp and inked it up well.  I carefully put the stamp to the chip, pushing down firmly, then with one hand I held down the paper and gripping the stamp tightly, lifted it.  This time, no "double stamping."  On the back, I put some 3-D stickers just so it wouldn't be bare, but also so my daughters could write their names after one of the heart stickers--like a card--so the teacher would always be able to remember from whom this sentiment came.
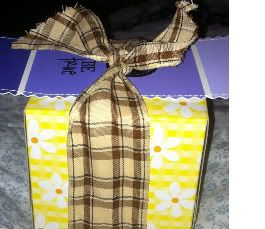
I paired a bookmark with a cheap, but adorable mini box of tissues. 

Cost Breakdown: $1.00 per gift

2 Paint Chips.......free from Home Depot (or any hardware store)
Ink Pad...............free, already had this
Stamp.................free, already had this
3-D Stickers.......free, already had this
Thread/Sewing Machine.....free, already had this
Ribbon...............free, recycled from a gift
Mini-Tissues.......$1.00 from Target's dollar section


Thursday, May 5, 2011

Coasting Into A Teacher's Appreciation Gift for Day #2

Day One's gift went well.  If you didn't see it, you can find it here.  And to tie into the first gift, I decided that the next gift would be a handmade coaster for their glass.  Not only are these super simple to make, they are very inexpensive.  Two of my favorite things!!

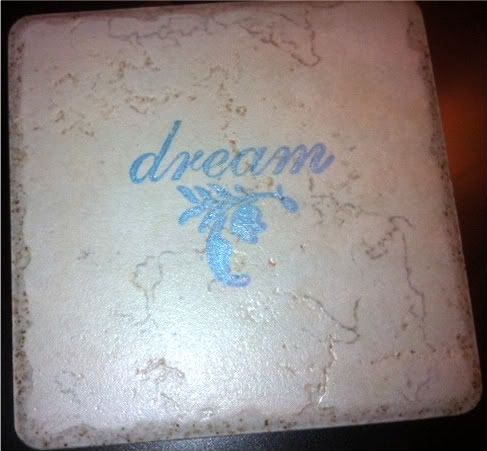
First, I purchased some tumbled, natural stone tiles at Home Depot.  They sold for about .30 cents a tile.  When I got home, I rubbed the tops down with some alcohol and let them dry for an hour.  This is to make sure that there isn't any debris on the front of the tile that may interfere with the stamping that will happen next.

Next, I chose an ink called "Brilliance"--they have them in a multitude of colors.  I stamped two designs--one with Blue and the other with Coffee Bean.  You could use Staz On brand, but in my area I have a hard time finding them and they are very expensive, plus "Brilliance" works just as well, and usually costs less. 

Then, I chose my stamp and inked it well.  I centered the design on the tile and pushed down firmly.  (I actually stood up and put my weight down on the stamp so as to come in contact with as much of the tile as possible--since these tiles are uneven.)  I carefully lifted the stamp and voila!  A pretty design. 

I let these set for about half an hour or until dry.  Then, I placed them into a cold oven.  I "cooked" them at 325 degrees for 30 minutes, then turned off the oven, leaving the tile to cool down with the oven.  This will take a while, so it's best to do this part when you have a bit of time.
 
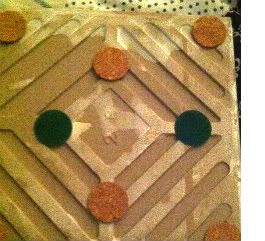
coaster with cork and felt bumpers

Last, I cut some felt (or you can use self adhesive felt bumpers) and glued it to the bottom of the tiles.  This keeps the coaster from scratching the surface they are on.
 
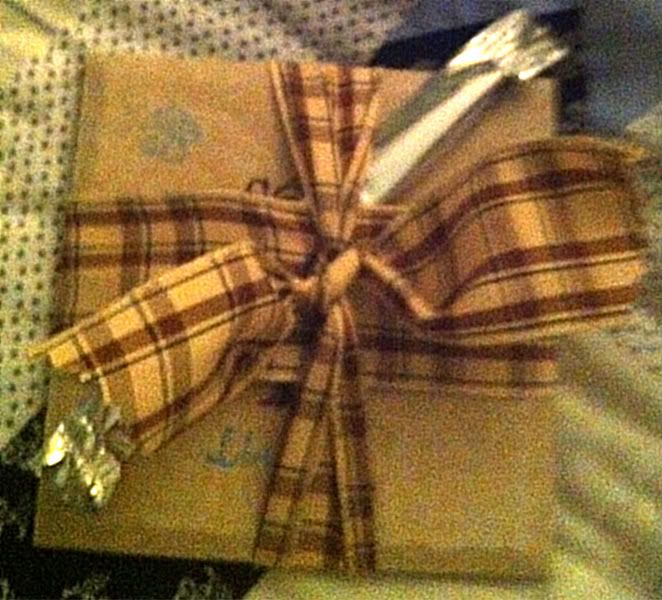
This seemed a little less then adequate, so I baked some cookies  from scratch from the refrigerator section and put them into a baggie.  I tied the cookies coaster with a bow and slipped a mint stick between the bow and top of the tile.  A nice simple and sweet gift for the girls' teachers.


Cost Breakdown: $ 1.13 per gift

Tile...... $  .30 each
Stamps...... free as I already had these
Stamp Pad (Ink).....free as I already had these
Ribbon.....free as I already had this
Cookie Dough.....$5.42 for 2lbs @ WalMart--but only used about half the container.
Baggies........free as I already had these (but you can get them for $1.00 at the Dollar Store
Stick Mints.......$1.00 for box of 12 at the Dollar Store.


Monday, March 7, 2011

MakeTime for....Making Time!

Who says you can't make time?  Not me!  I fell into this idea when a friend of mine, with whom I also work, was in need of a clock.  Her office, while very small, didn't come with a wall clock. Since she is a social worker, it is imperative that she know what time it is as she has students and parents coming and going for meetings.  Plus, how annoying not to have a clock  when you really need one!?!